 Five, began to test:
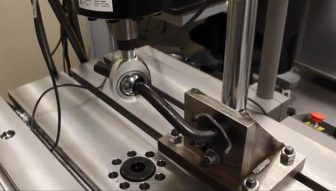
1. Adjust the lower deck height: counterclockwise (overlooking) Loosen the lock nut and turn the knurled screw counterclockwise to raise the lower guide spindle until there is a gap of 1 ~ 2mm between the upper surface of the test ring and the lower surface of the test specimen until.
2. Reverse lock the nut to eliminate the thread gap between the knurled screw and the upper force plate.
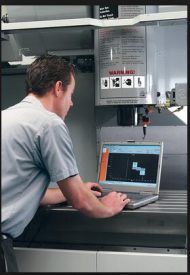
3. Select the friction pair, set the test force, test time, the maximum friction torque (more than the maximum alarm shutdown), spindle speed.
4. Click the test force "Clear".
5. Click the "Load" button to load the test force.
6. To measure the temperature, press the thermostat power button on the panel and plug the temperature sensor. Click the "Start Temperature" button on the main page to display the temperature in real time.
7. Click Friction "Clear"
8. Click the "Start" button, the spindle starts to rotate, and the test starts.
9. To stop midway, click the "Stop" button on the main page.
10, the experiment, the software automatically control the test force and temperature in the set value. Real-time acquisition of friction torque, the number of spindle speed, calculate the friction coefficient, showing the experimental time, the experimental temperature; to be experimental time, the test machine automatically shut down.
Six, data and curve preservation
1. At the end of the experiment, click "Save original data" to save the original data.
2, click the "curve display" button, click on "image format save", save the test curve; click "return" button to return to the main page.
3, click "Report Processing", enter the basic situation of the test, set the parameters, click "OK" button; add the header, add data, click "TXT format save" or "RTF format save" button, save the test data. Click the "Exit" button to return to the main page.
 Seven, the end of the test
1. Click the "Uninstall" button on the main page, the test machine will automatically remove the test force until the page shows the limit, the uninstall automatically stops.
2. Click the "Exit" button on the main page to exit the measurement and control system.
3. After exiting the measurement and control system, loosen the lock nut and unscrew the screw shaft so that the lower guide spindle descends until there is enough space between the upper and lower specimens to remove the specimen.
4. Remove the lower specimen, loosen the lever, and tap the lever down until the clamp is loose with the spindle. Remove the fixture and the sample.
5. Observe the experimental results, do a good job of experimental records.
6. Turn off the computer, press the panel "power off" button, turn off the machine power.